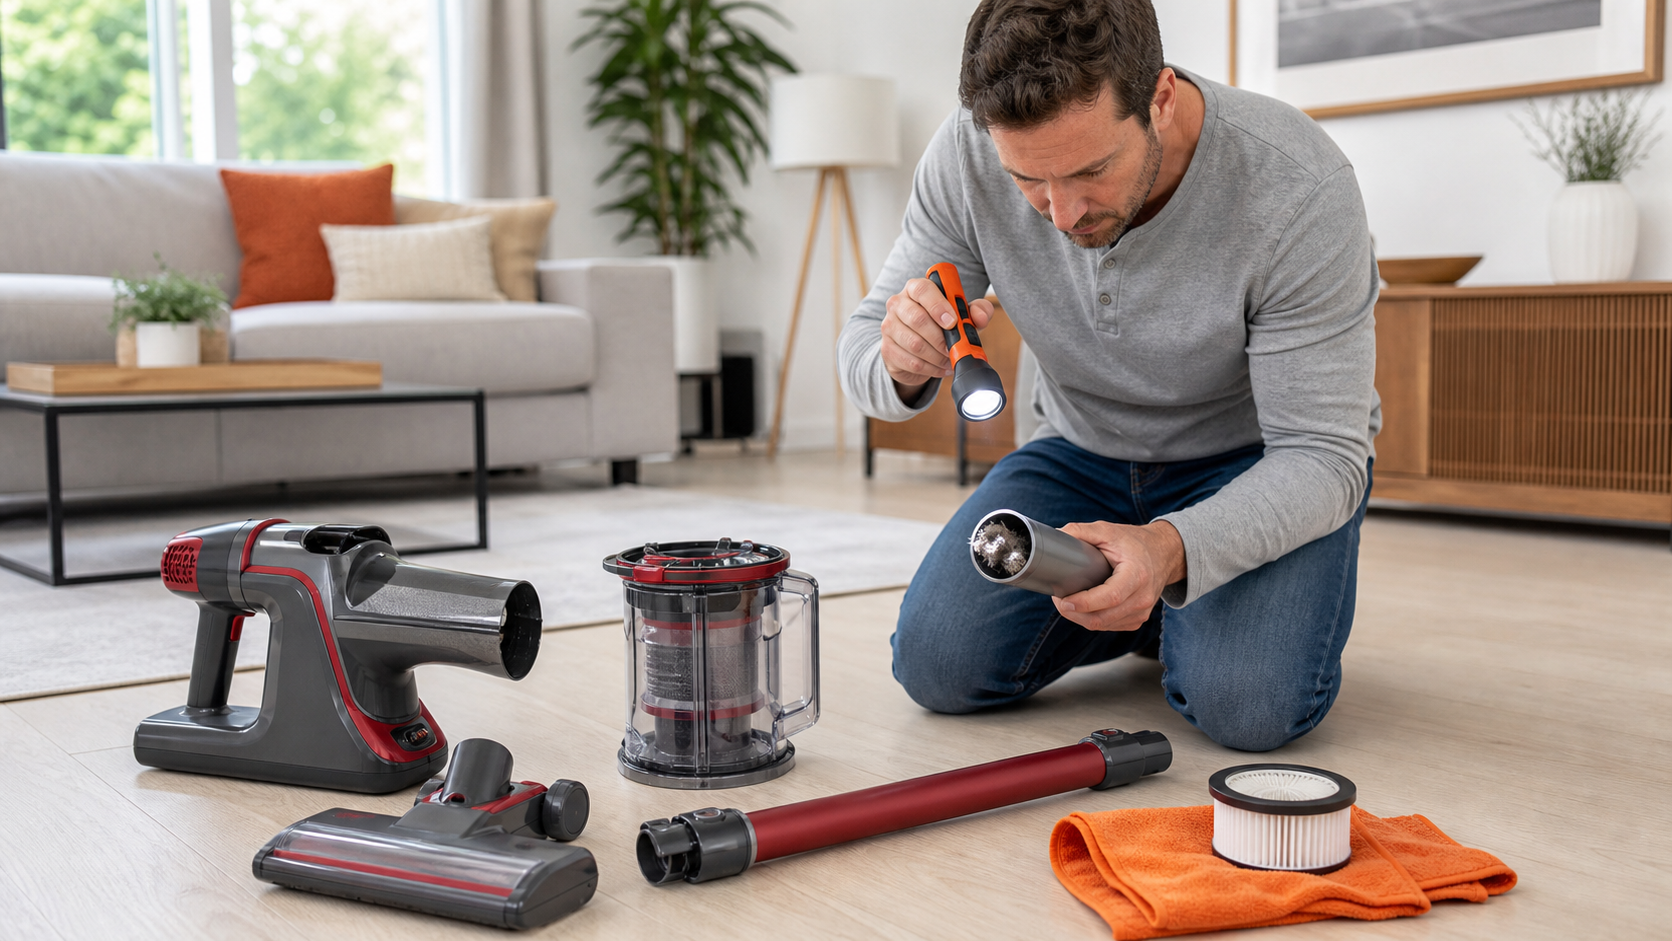
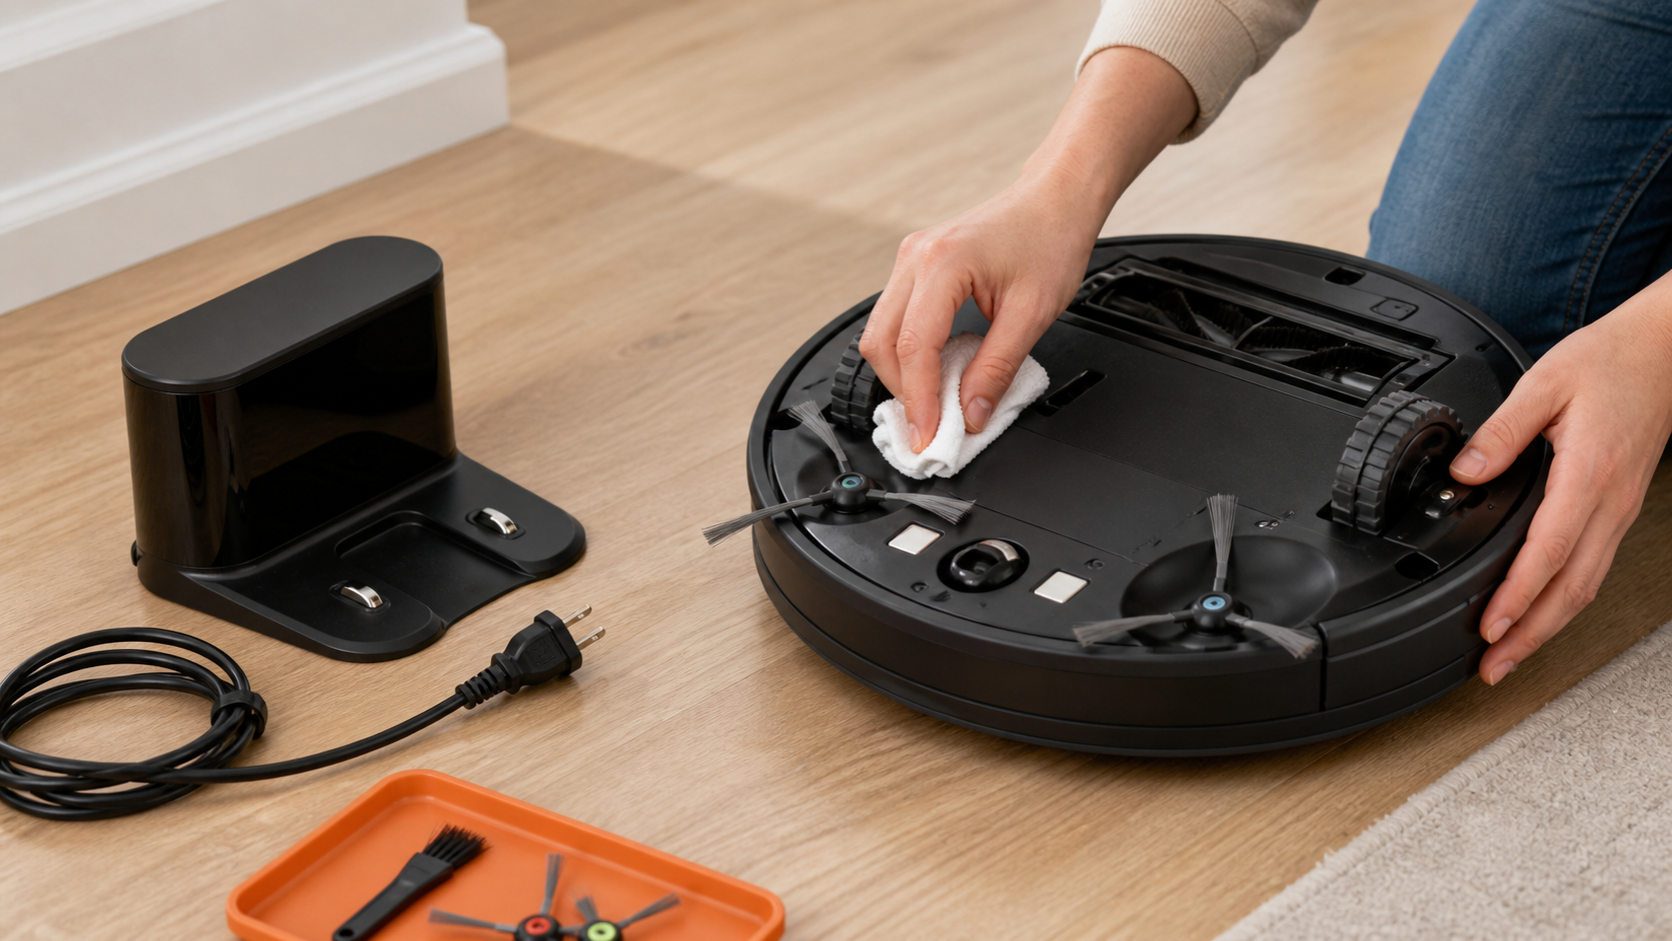
Quick answer
Confirm the dock cord is fully seated at both the wall and dock, then identify the exact Roomba series before changing anything. Unplug the dock and wait 60 seconds. iRobot says to clean the robot and dock's metal charging contacts with only a lightly dampened melamine foam or lightly dampened cloth, then restore power and seat the robot as its model requires. Green, copper-colored, stuck, or otherwise damaged contacts need iRobot support rather than more cleaning. New Roomba 100/1000, 200/2000, and Max 700 Vac models may recover through iRobot's documented ship-mode sequence. If a displayed charging error persists, follow that exact error article; remove and reinstall the battery only if the model instructions authorize it. Stop for swelling, heat, odor, liquid intrusion, a damaged cord, or a sparking or tripping outlet.
Safety before you start
Disconnect the dock from power before cleaning it and wait the manufacturer-specified 60 seconds. Use only a lightly dampened cloth or melamine foam on metal contacts; never spray liquid into the robot, dock, sensors, or openings. Do not scrape contacts, short terminals, open a sealed battery pack, use an unknown replacement battery, or bypass the charging system. Move a hot, swollen, leaking, hissing, or smoking robot away from combustibles only if it is safe, do not charge it again, and contact emergency services if there is fire. Use an electrician for a hot, loose, wet, damaged, sparking, or repeatedly tripping receptacle.
What you need
- Exact Roomba model and serial number
- Matching iRobot support article or owner guide
- Clean lightly dampened cloth or melamine foam
- Dry microfiber or soft cotton cloth for the dock sensor window
- Flashlight
- Phone with the Roomba app, if the model supports it
- Proof of purchase for warranty support
Step-by-step
Identify the charging symptom and model
Record whether the robot is completely dark, announces charging, shows a percentage that does not rise, or displays a numbered charging error. Photograph the model and serial label without opening the machine. Different Roomba generations use different buttons, dock positions, and recovery steps.
Check the external power path
Look for cord damage, a loose plug, moisture, heat, or discoloration. If none is present, reseat the cord at the dock and a known working wall receptacle. Do not use a damaged extension, bypass a tripped safety device, or open the dock. A receptacle with heat, sparks, looseness, or repeated trips needs an electrician.
Unplug the dock for 60 seconds
Disconnect the dock from the wall and wait at least 60 seconds, following iRobot's cleaning guidance. Remove the robot and place it upside down on a stable, dry, padded surface. Keep liquid away from every sensor and opening.
Clean only the metal charging contacts
Use a lightly dampened melamine foam or lightly dampened cloth on the metal contacts of both robot and dock until ordinary surface debris is gone and the contacts have a visible shine. iRobot identifies those as the acceptable materials and warns against abrasives. Use a dry soft cloth—not melamine foam—on the docking sensor window.
Inspect for damage before restoring power
Stop if a contact is green, copper-colored, stuck down, deeply worn, loose, or heat damaged. iRobot says a robot or dock with damaged contacts may need replacement. Do not bend, shim, sand, plate, or bridge a contact.
Seat the robot according to its series
Reconnect the dock and place the robot on it in the orientation shown for that model. iRobot notes that a Roomba 200/2000 placed manually should retain a small gap of about 1 centimeter, or one-half inch, between dock and bumper; pushing it too far can break contact. Do not apply that spacing rule to other series unless their guide says so.
Use only the documented recovery path
For a new Roomba 100/1000, 200/2000, or Max 700 Vac that is unresponsive or losing charge, iRobot documents a ship-mode procedure using a 30-second POWER-button hold and a return to the dock within four minutes. For a numbered error, use the exact error page. Re-seat an accessible battery only when the model-specific guidance directs it and the pack looks completely normal.
Stop before guessing at replacement parts
If charging does not resume, record the lights, app percentage, error number, dock behavior, and contact condition. Contact iRobot with the serial number and proof of purchase. A persistent fault can involve the robot, battery, dock, or cord, so buying an unverified battery does not isolate the cause.
Clean contact is different from damaged contact
Dust and residue can increase resistance at the small metal interface between robot and dock. Cleaning restores the designed surface without changing its shape. Sandpaper, files, metal polish, solvents, and improvised shims can remove plating, leave conductive residue, or create heat.
iRobot's current guidance says green or copper-colored contacts indicate damage. Once the normal contact surface is compromised, stop cleaning and ask support whether the robot, dock, or both require service or replacement.
Use the displayed error instead of treating every failure alike
- Errors 4 and 5 indicate current is not reaching the robot in iRobot's all-model guidance.
- Error 8 is described as a battery communication fault.
- Errors 19, 21, 105, 119, and 121 have their own current support flows.
- A short runtime after successful charging is a different symptom from a robot that never accepts charge.
- Record the exact error and model before following any battery or reboot instruction.
A battery purchase should follow diagnosis
A robot that does not charge can be losing power at the outlet, cord, dock, contacts, battery connection, or internal electronics. Successful contact cleaning or a documented reboot is evidence; swapping parts at random is not.
Never reuse or ship a swollen, leaking, hot, punctured, or impact-damaged lithium-ion pack. Ask the manufacturer or local hazardous-waste program how to handle it, and keep the terminals from contacting metal during approved disposal preparation.
Common questions
Can I clean Roomba charging contacts with alcohol or sandpaper?
iRobot's current instructions specify only a lightly dampened melamine foam or lightly dampened cloth for the metal contacts and say not to use abrasive material. Do not spray any cleaner into the robot or dock.
Why is my Roomba on the dock but losing battery percentage?
Poor contact, dock power, battery seating, or hardware can cause that pattern. Clean and inspect the contacts, confirm the cord, and use the exact model and displayed error to choose iRobot's next step.
Does a Roomba that will not charge always need a new battery?
No. iRobot's troubleshooting also checks dock power, contact debris or damage, robot placement, and the battery connection. Diagnose those factors before buying a model-compatible battery.
Prefer to hire a professional?
Find a local appliance repair company
Browse business profiles with published services, coverage, and direct contact information in the FixMate directory.
Sources and further reading
This article is original FixMate editorial content informed by the references below. Always follow manufacturer instructions and local code.