Quick answer
For an LG front-load washer, remove laundry, turn the machine off, and inspect the door gasket for trapped items and residue. Clean only with the method approved for your exact model, then leave the gasket and door area dry. Next, clean the user-accessible drain-pump filter if your model has one: unplug the washer, let hot wash water cool, drain the residual hose into a shallow pan, remove debris, and reinstall the filter securely. Run the model's Tub Clean cycle with an LG-approved washing-machine tub cleaner and no laundry. LG recommends monthly Tub Clean maintenance and monthly drain-filter cleaning on applicable front-load models. Never mix bleach, vinegar, ammonia, acids, or any cleaning products. Persistent odor after LG's repeated Tub Clean procedure, recurring standing water, leaking, a damaged gasket, sewage odor, or an electrical burning smell needs appliance service or a plumber rather than stronger chemicals.
Safety before you start
Unplug the washer before cleaning the gasket recess or drain-pump filter. Let hot water cool, use a shallow pan and towels, and keep electrical plugs and controls dry. Never mix cleaning products—especially chlorine bleach with vinegar, ammonia, acids, or other cleaners—and never add a product unless the exact model manual permits it. Do not open panels, reach past the user-accessible filter compartment, run the machine with a loose filter, or repair wiring, pumps, or door-lock parts. Stop for leaking near electrical components, a burning odor, smoke, damaged cords, sewage odor, or a torn gasket and call the appropriate appliance technician, electrician, or plumber.
What you need
- Exact LG model number and owner manual
- Nitrile household gloves
- Soft microfiber cloths
- Flashlight
- Shallow drain pan and absorbent towels
- LG-approved washing-machine tub cleaner
Step-by-step
Identify the washer and empty it
Confirm the label identifies an LG front-load washer and find its owner manual. Remove all laundry and check the drum for small items. This guide does not apply to a top-load washer, and filter access differs among front-load models.
Turn off power and inspect the gasket
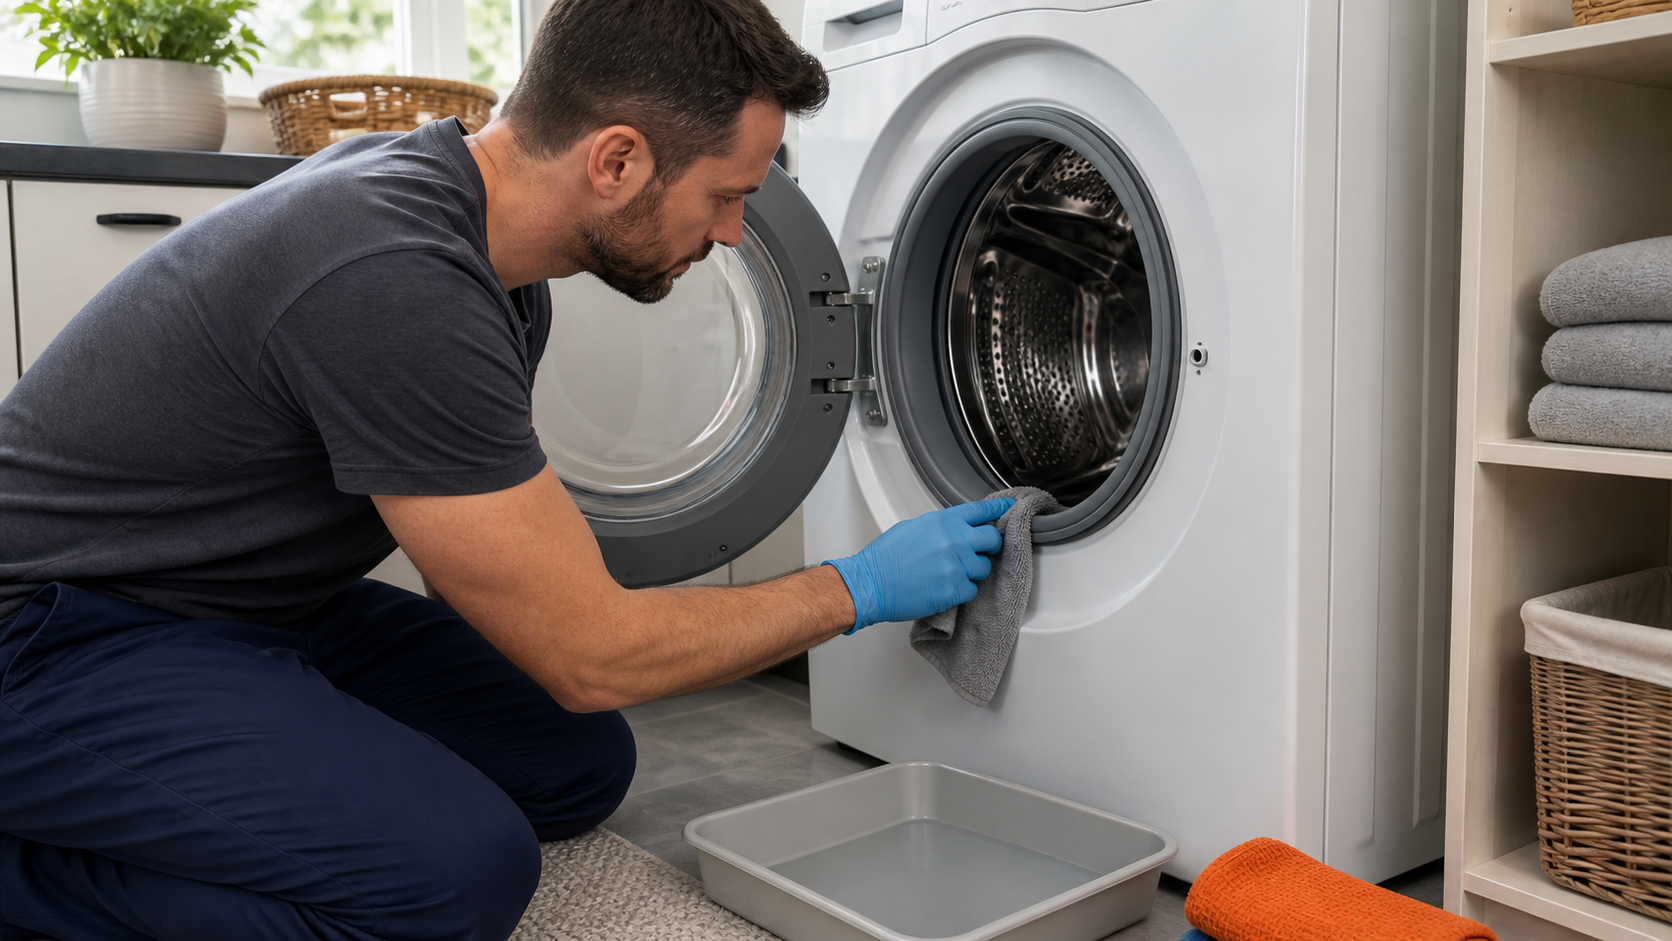
Switch the washer off and unplug it. With dry hands and gloves, gently pull back only the flexible door-gasket folds and remove accessible lint, coins, hair, or fabric. Stop if the gasket is torn, detached, or hiding a sharp object.
Clean and dry the door area
Use the gasket-cleaning method and product approved in the exact manual or LG support instructions. Wipe the folds, glass, and accessible door surfaces, then dry them. Do not pour cleaner into the gasket and never combine products in search of a stronger result.
Drain the user-accessible filter compartment
If the manual shows a drain-pump filter, keep the washer unplugged and let recent hot water cool. Place towels and a shallow pan below the access door. Pull out the residual drain hose, remove its cap slowly, drain the water, and recap it before moving the pan.
Clean and reseat the pump filter
Turn the filter in the direction shown by the manual, remove accessible lint and small objects, and rinse the filter with water. Do not reach into the pump or use a sharp tool. Reinstall and tighten the filter correctly, return the capped hose, and close the access door.
Run Tub Clean with no laundry
Restore power, leave the drum empty, add only a model-approved tub-cleaning product in the location directed by LG, and select Tub Clean. Do not add regular detergent or mix treatments. LG says a strong existing odor may require the documented Tub Clean procedure weekly for three consecutive weeks.
Dry, prevent, and know when to stop
When the cycle ends, wipe the door and gasket dry and leave the door ajar only if it is safe from children and pets. Use the correct high-efficiency detergent amount and make gasket, filter, and Tub Clean maintenance monthly habits. Arrange service if odor persists after LG's sequence or if water, leaks, mechanical noise, or electrical symptoms return.
Odor can come from more than the drum
- The door gasket can trap lint, small objects, detergent film, and moisture.
- An applicable drain-pump filter can hold wet debris and restrict drainage.
- Detergent or softener overdosing can leave residue in a high-efficiency washer.
- The tub needs its dedicated empty cleaning cycle, not a scented wash load.
- A true sewer odor may come from the household drain and needs plumbing diagnosis.
LG treats this as recurring maintenance
LG's support guidance calls for a monthly Tub Clean cycle and monthly cleaning of the drain-pump filter on front-load models that have that service point. Drying the gasket and allowing ventilation between loads reduce the moisture that supports recurring buildup.
More detergent is not more cleaning. Use high-efficiency detergent and the amount appropriate to the load, water conditions, and model manual so residue does not become part of the odor problem.
Persistent odor is a diagnostic clue
LG says to request repair when odor remains after the documented repeated Tub Clean sequence. Service is also appropriate for a torn gasket, a filter that will not seat, recurring water in the drum, leaks, or pump noise.
Call a plumber for a sewage smell or a drain that backs up outside the washer. Unplug and stop immediately for a burning electrical odor, smoke, sparking, a hot cord, or water reaching electrical parts.
Common questions
Can I mix vinegar and bleach to clean an LG washer?
No. Never mix bleach with vinegar, ammonia, acids, or other cleaners; dangerous gas can result. Use only one product and method permitted by the exact LG model instructions.
How often should I run Tub Clean?
LG recommends Tub Clean monthly. For an established musty odor, its support guidance describes running the cycle weekly for three consecutive weeks, then requesting service if odor persists.
Does every LG washer have a drain-pump filter I can clean?
No. LG's filter procedure applies to front-load washers and combos, not top-load models, and access location can vary. Confirm the exact model manual before opening any compartment.
Prefer to hire a professional?
Find a local appliance repair company
Browse business profiles with published services, coverage, and direct contact information in the FixMate directory.
Sources and further reading
This article is original FixMate editorial content informed by the references below. Always follow manufacturer instructions and local code.