Quick answer
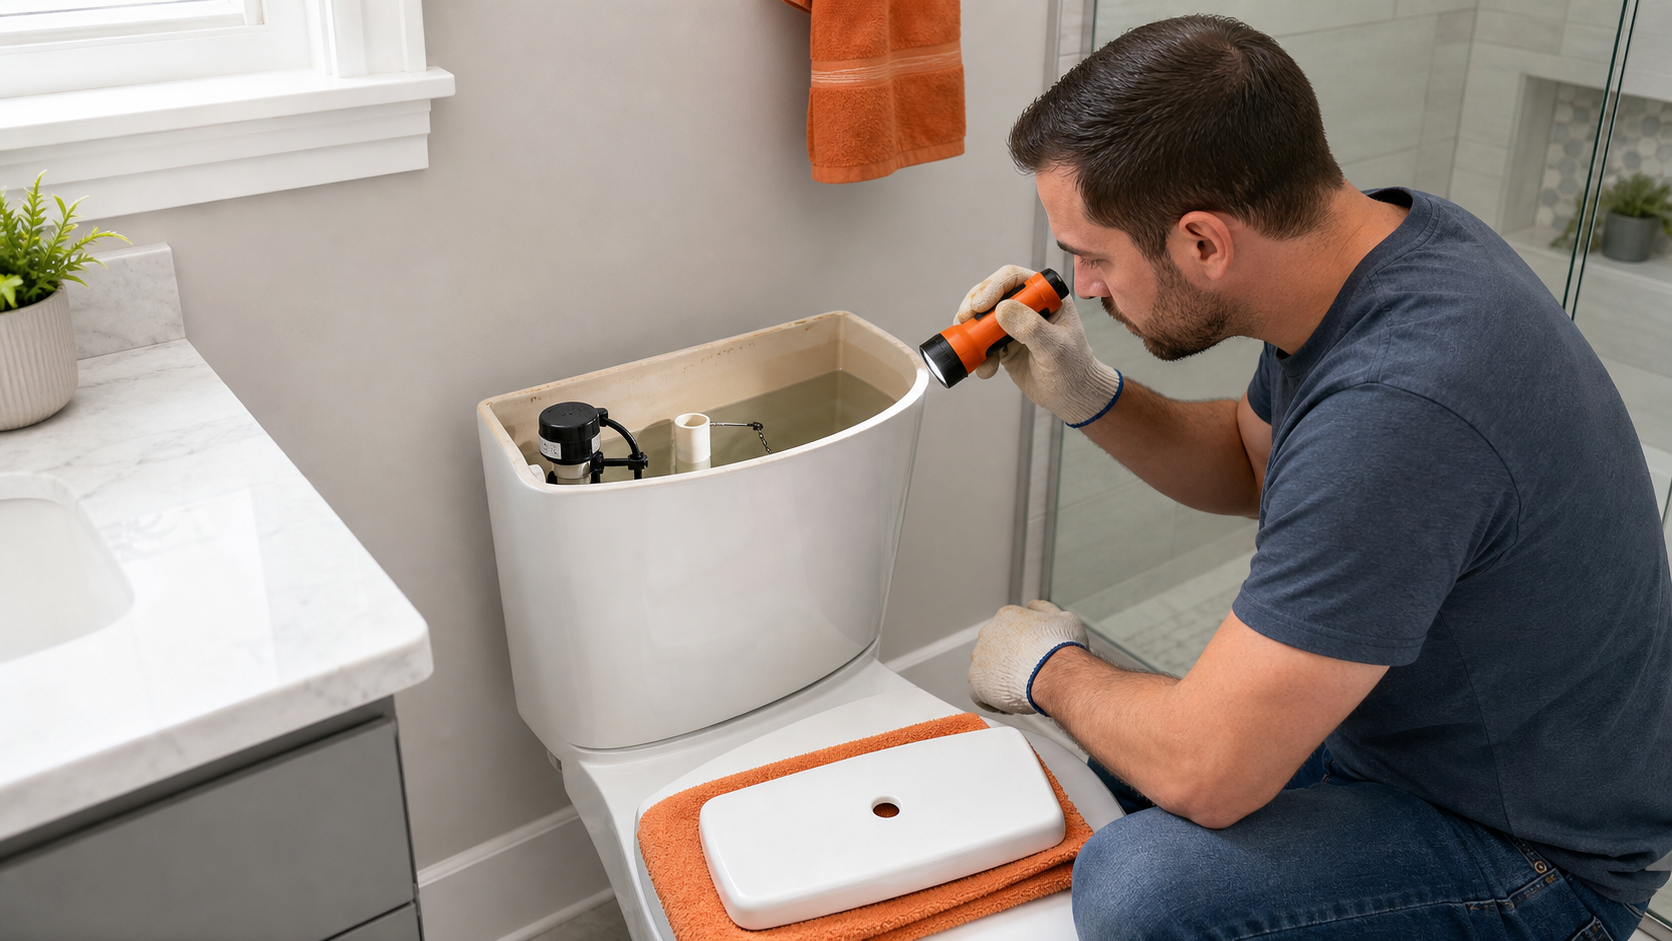
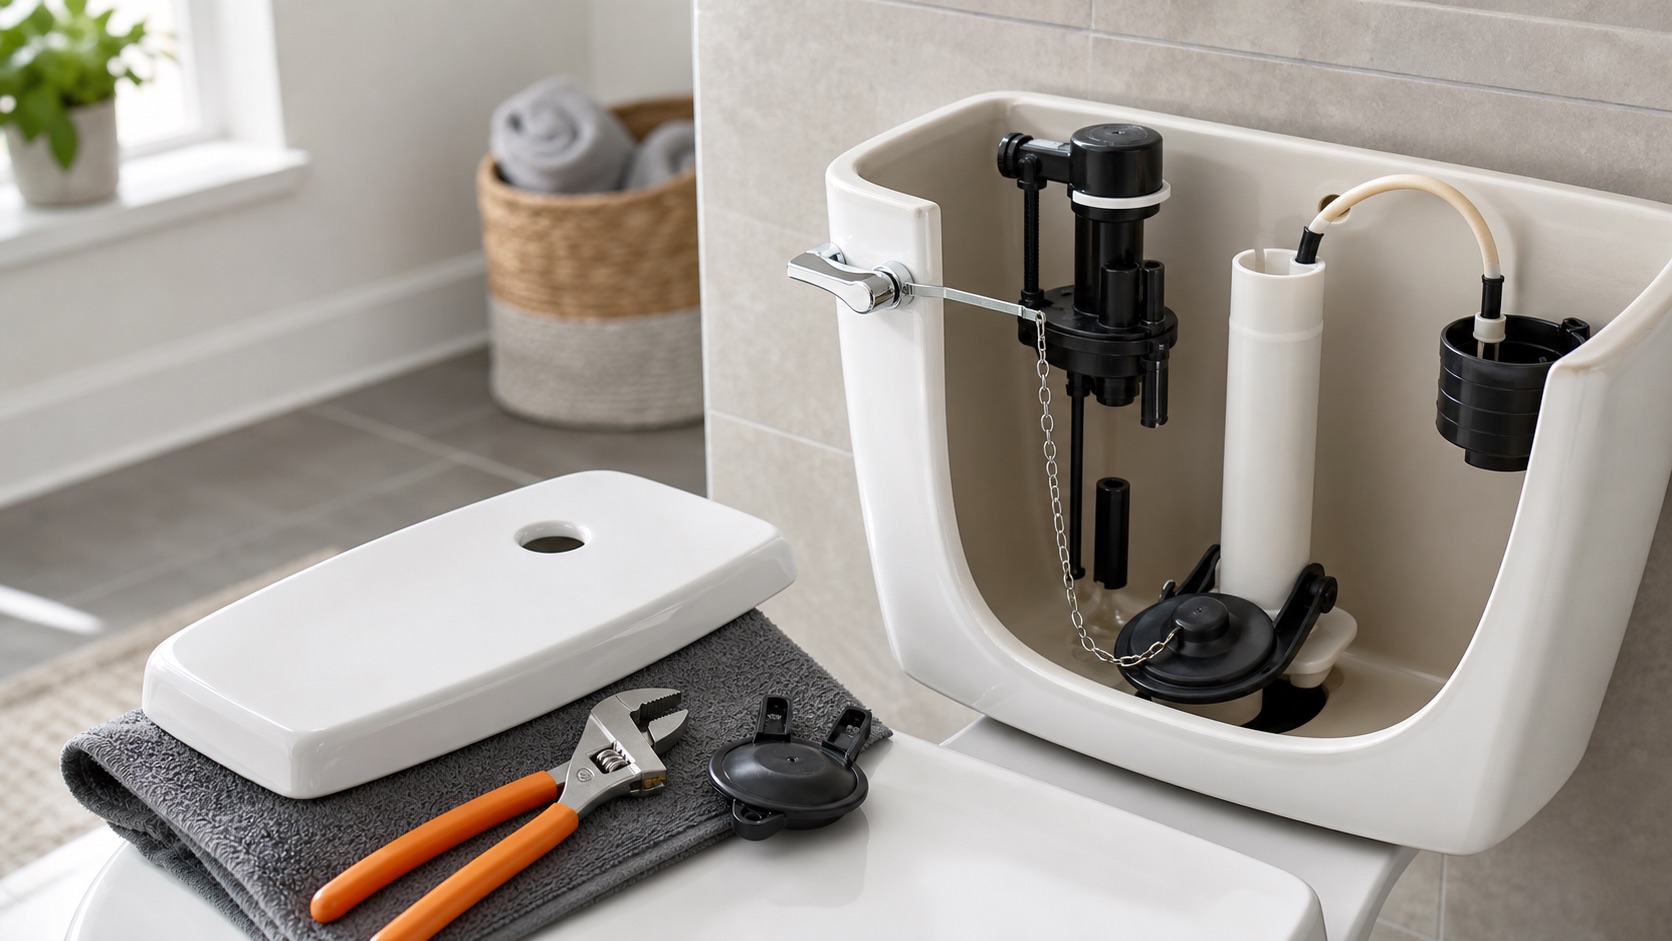
Remove the tank lid and flush once while watching the parts. Free a chain caught under the flapper and adjust it so it has a little slack. If the flapper is warped or fails to seal, replace it. If water rises into the overflow tube, lower the float to the tank’s marked waterline. If the fill valve still will not shut off, replace the fill valve with the water supply closed.
Safety before you start
Set the heavy porcelain tank lid on a towel where it cannot fall. Close the toilet’s supply valve before replacing parts below the waterline, and sponge the tank dry before loosening the fill valve. Never overtighten nuts against porcelain—it can crack suddenly. Keep electrical bidet cords and outlets dry.
What you need
- Towel and sponge
- Adjustable pliers
- Small bucket
- Replacement flapper or fill valve if testing confirms one has failed
- Manufacturer instructions or a photo of the existing tank parts
Step-by-step
Remove the lid and observe one flush
Watch the handle lift the chain, the flapper open and close, the tank refill, and the float rise. This short observation usually reveals whether water is escaping through the flush valve or entering above the correct level.
Check the flapper chain
The chain should have a small amount of slack when the flapper is closed. Remove twists and make sure no extra chain is trapped beneath the flapper. Too much slack prevents a full flush; too little holds the flapper open.
Inspect and clean the flapper seat
Turn off the supply, flush, and lift the flapper. Wipe away mineral grit from the flapper and the smooth rim it seals against. Replace a flapper that is warped, brittle, cracked, slimy, or no longer sits flat.
Check the refill tube
The small refill tube should be clipped above the opening of the overflow tube, not pushed deeply below the tank’s waterline. A submerged tube can create a siphon that keeps water moving.
Set the correct water level
Find the fill line marked inside the tank or follow the toilet maker’s specification. Adjust the float screw, rod clip, or float cup so filling stops at that level and below the top of the overflow tube.
Test the fill valve
Lift the float gently. If incoming water does not stop, or if the valve hisses and cycles after the flapper seals, the fill valve may be worn or obstructed and usually needs replacement.
Replace the failed part and retest
Close the supply, flush, sponge out remaining water, and follow the replacement part’s instructions. Reopen the supply slowly, check below the tank for drips, and flush several times before replacing the lid.
Use the sound and water level to narrow the cause
- Constant trickle into the bowl: flapper, flush-valve seat, or chain problem.
- Water flowing into the overflow tube: float set too high or fill valve not shutting off.
- Brief refill every few minutes: a slow flapper leak is making the fill valve cycle.
- Handle stays down: chain, handle arm, or lever mechanism is binding.
- Hissing near the fill valve: restricted or failing fill valve, especially if lifting the float does not stop it.
Match the replacement flapper
Flappers vary by flush-valve size, toilet model, frame style, and water-saving design. Measure the flush-valve opening or look up the toilet model rather than assuming every red or black flapper is interchangeable.
A universal flapper may have an adjustable float or timing dial. Begin with its instructions and adjust only after confirming that it seals fully and allows a complete flush.
When the fill valve is the problem
If the flapper seals and the refill tube is positioned correctly but water continues entering the tank, lower the float. A valve that ignores the float, sticks, or repeatedly hisses is a strong candidate for replacement.
During replacement, support the valve while tightening the nut below the tank. Hand-tighten first and use only the small additional adjustment specified by the manufacturer. Cranking down on a plastic nut can distort the gasket or crack the tank.
When to call a plumber
- The toilet rocks, leaks at the floor, or water appears around the base.
- The tank or bowl is cracked.
- The supply valve is stuck, corroded, or begins leaking.
- The flush-valve body itself is damaged and requires tank removal.
- The toilet still runs after correctly matched flapper and fill-valve repairs.
Common questions
Why does my toilet run every few minutes?
Water is probably leaking slowly from the tank into the bowl, most often past the flapper. As the tank level drops, the fill valve switches on briefly to replace it.
How much slack should the flapper chain have?
Leave enough slack for the flapper to sit completely flat, but not so much that the chain can become trapped underneath it. Usually a small visible curve in the chain is sufficient.
Why is water going into the overflow tube?
The float may be set too high or the fill valve may not be shutting off. Lower the float to the marked fill line; replace the fill valve if it continues running.
Prefer to hire a professional?
Find a local plumbing company
Browse business profiles with published services, coverage, and direct contact information in the FixMate directory.
Sources and further reading
This article is original FixMate editorial content informed by the references below. Always follow manufacturer instructions and local code.