Quick answer
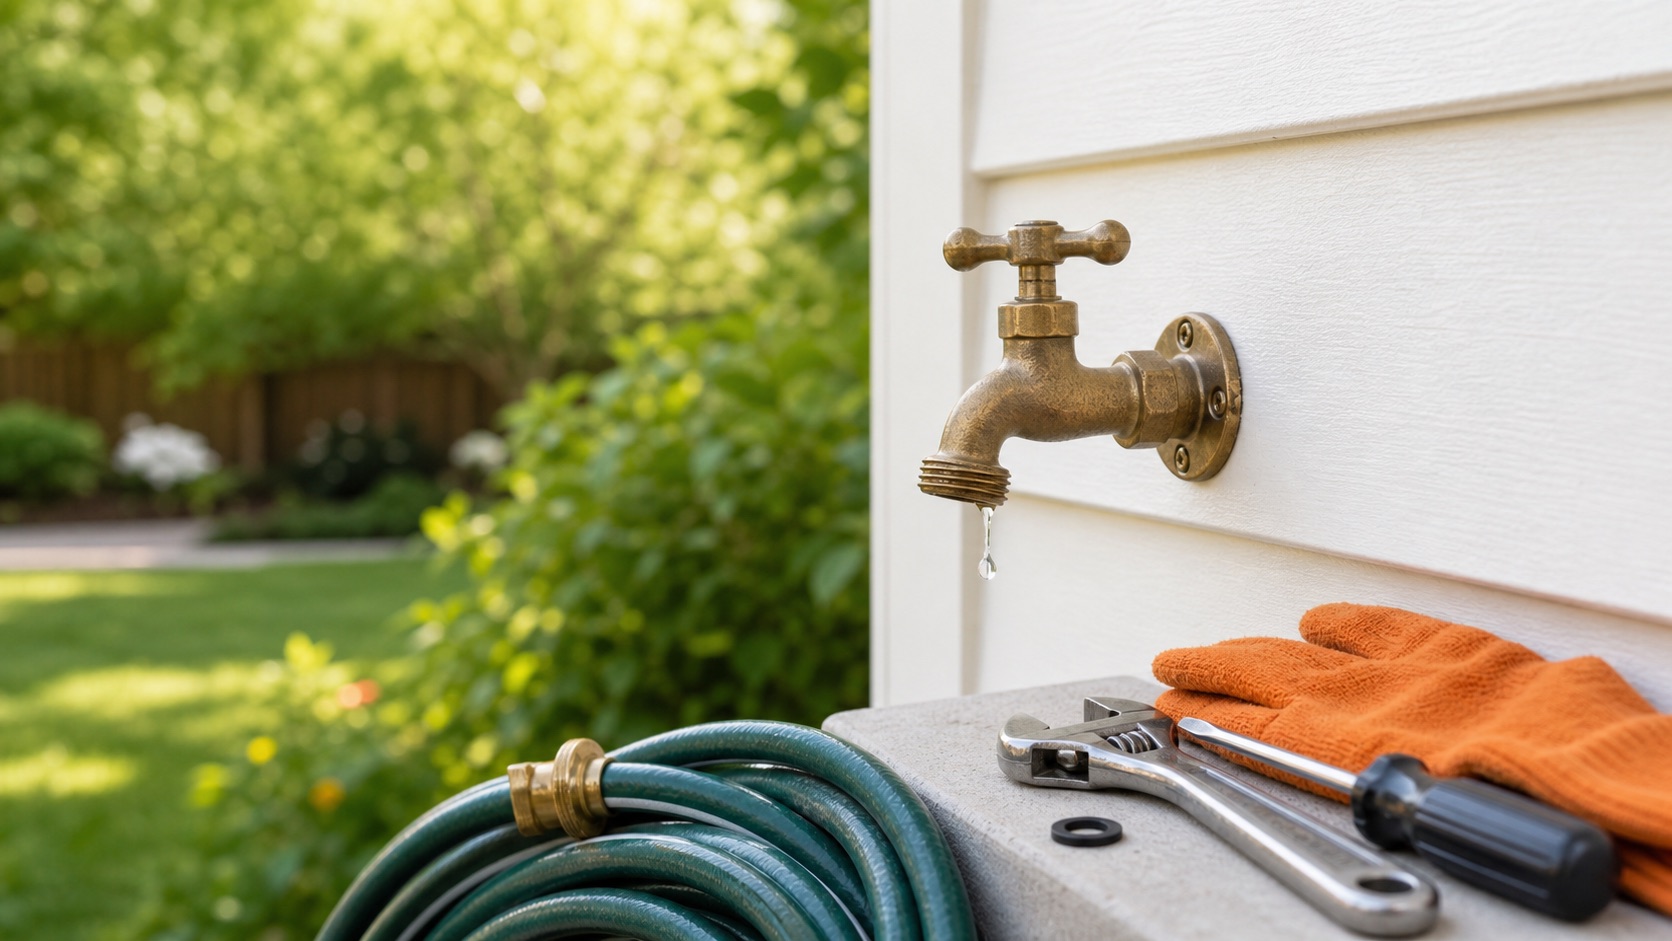
If water leaks around the handle only while the faucet is on, gently tighten the packing nut first. If that does not work, replace the packing washer or stem packing. If the faucet drips from the spout while turned off, shut off the indoor supply, remove the valve stem, and replace the washer at the end with an exact match. A frost-free faucet that leaks inside the wall or only after use needs professional inspection.
Safety before you start
Find and close the indoor shutoff that feeds the outdoor faucet before removing the handle or stem, then open the faucet to drain pressure. Stop if the faucet body twists in the wall, the shutoff will not close, or moisture appears inside the wall, basement, or crawlspace. Hidden frost-free faucet damage can release water into the structure.
What you need
- Phillips or flat-head screwdriver that fits the handle screw
- Adjustable wrench or correctly sized open-end wrench
- Painter’s tape to protect finished surfaces
- Exact-match packing washer, stem packing, O-ring, or bibb washer
- Faucet-safe silicone plumber’s grease
- Towel and a small container for parts
Step-by-step
Identify whether the leak is at the handle or spout
Dry the faucet and watch the first place water returns. Moisture around the stem behind the handle points to packing. A drip from the outlet while the handle is fully closed points to the washer or sealing surface at the end of the valve stem.
Try a small packing-nut adjustment
For a handle leak, hold the faucet body steady and turn the packing nut clockwise only a small amount. Test the faucet. Stop tightening when the leak stops; excess force can make the handle difficult to turn or damage the packing.
Shut off and drain the water
Close the indoor branch valve, usually in a basement or crawlspace, and open the outdoor faucet until flow stops. If no working branch valve exists, use the main shutoff only if you can identify and operate it safely.
Remove the handle and valve stem
Remove the handle screw and handle. Protect finished metal with tape, loosen the packing nut counterclockwise, and pull or unscrew the stem assembly without twisting the faucet body or wall connection.
Replace the failed sealing part
Replace damaged packing behind the nut for a handle leak. For a spout drip, remove the small screw and washer at the base of the stem. Match the original shape, diameter, and thickness rather than relying on a part that only looks close.
Lubricate and reassemble
Apply a light film of faucet-safe silicone grease to compatible O-rings and moving threads. Reinsert the stem, hold the faucet body steady, and tighten the assembly until secure without overtightening.
Restore water and inspect both sides of the wall
Open the indoor shutoff slowly, test the faucet, and dry every joint. Check the basement, crawlspace, or interior wall area behind the faucet for moisture, especially with a frost-free model.
What the leak location tells you
- Around the handle while running: packing nut, packing washer, stem packing, or O-ring.
- From the spout while off: washer at the base of the stem, valve seat, or frost-free stem assembly.
- At the hose connection: missing, cracked, or flattened hose gasket.
- Behind the siding or inside the wall: cracked pipe, failed connection, or freeze-damaged frost-free faucet.
- At the vacuum breaker or anti-siphon cap: a worn or dirty backflow-prevention component that may need a model-specific repair kit.
Special caution for frost-free faucets
A frost-free faucet has a long stem that shuts water off farther inside the heated portion of the home. Its body is normally installed with a slight outward slope so water can drain after the hose is removed.
If a hose remains attached during freezing weather, water can stay trapped and split the faucet tube. The damage may not show until the next time the faucet is opened, when water can leak inside the wall. If the handle turns normally but water appears indoors, shut off the branch supply and call a plumber.
Prevent the next outdoor faucet leak
- Disconnect hoses, splitters, timers, and spray nozzles before freezing weather.
- Close the indoor branch valve where required, then open the outdoor faucet to drain it.
- Do not leave a hose under pressure when it is not being used.
- Replace the inexpensive hose-end gasket when a connection drips.
- Check indoor spaces behind frost-free faucets after the first spring use.
When to call a plumber
Get professional help if the faucet or supply pipe moves in the wall, the valve seat is badly damaged, the indoor shutoff leaks, a soldered connection must be changed, or any water is escaping inside the structure. A complete hose-bib replacement can require opening the wall or working on a threaded or soldered supply connection.
Common questions
Why does my outdoor faucet leak only when it is on?
Water around the handle during use usually points to loose or worn stem packing. A slight packing-nut adjustment may stop it; otherwise the packing washer, packing material, or O-ring may need replacement.
Why does the faucet still drip after a new washer?
The washer may be the wrong size or installed unevenly, or the metal valve seat may be pitted. Frost-free faucets may also require a manufacturer-specific stem or seal kit.
Should I leave a hose connected in winter?
No. Remove hoses and accessories before freezing weather so the faucet can drain. Trapped water can freeze and split the faucet or pipe inside the wall.
Prefer to hire a professional?
Find a local plumbing company
Browse business profiles with published services, coverage, and direct contact information in the FixMate directory.
Sources and further reading
This article is original FixMate editorial content informed by the references below. Always follow manufacturer instructions and local code.