Quick answer
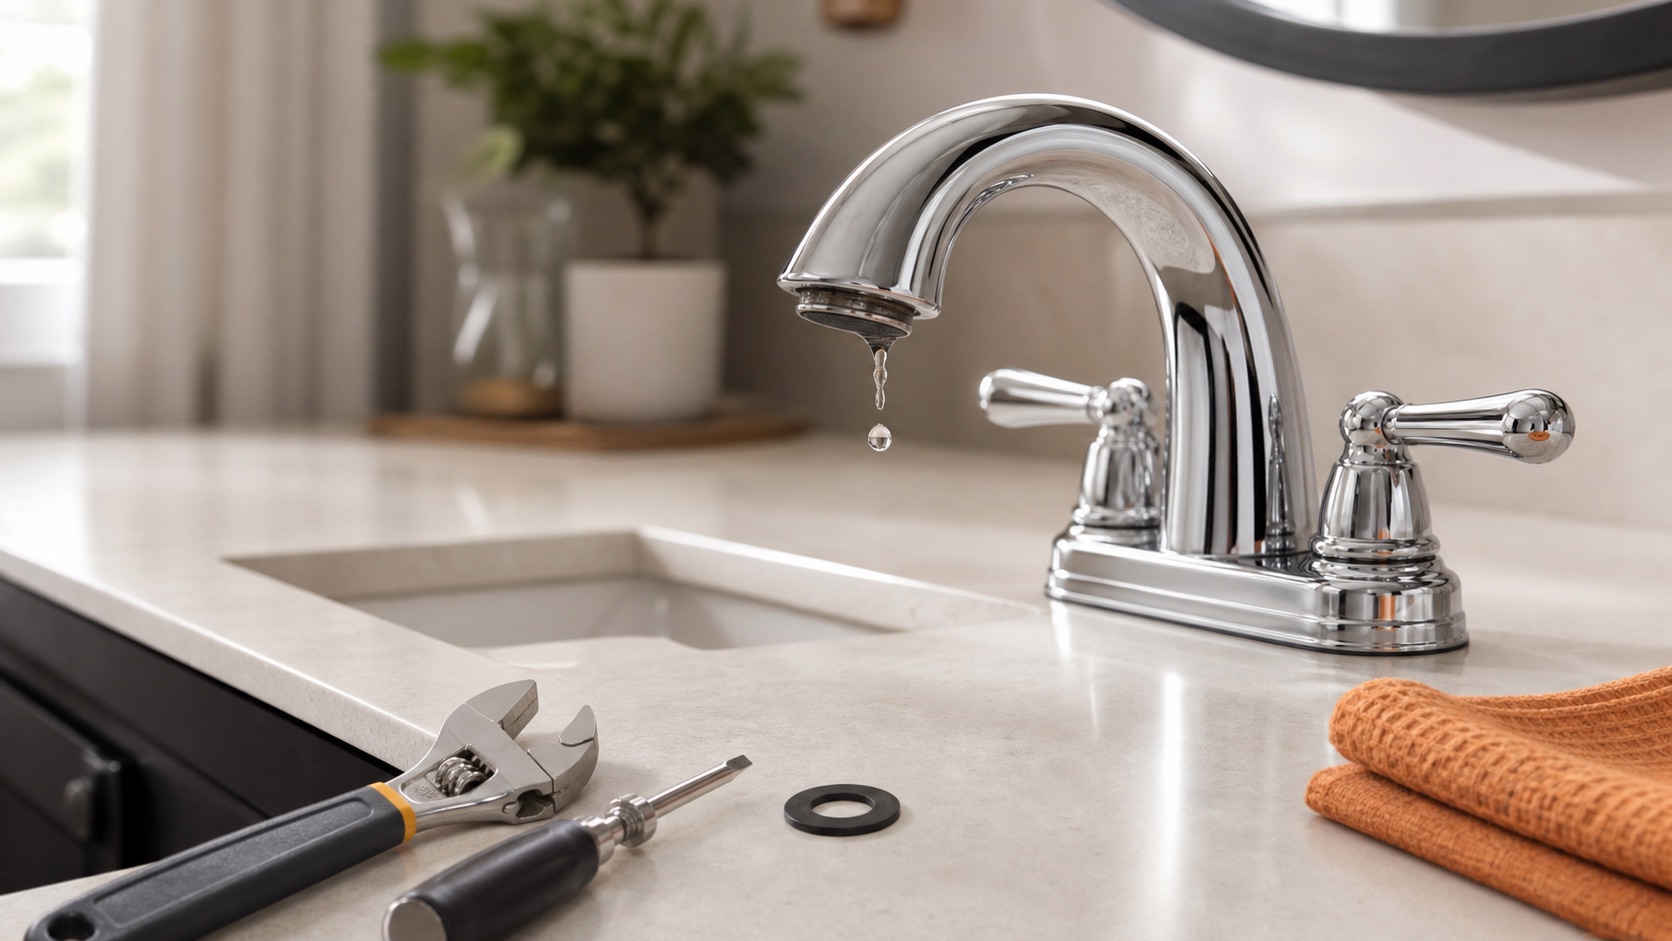
For a traditional two-handle compression faucet, shut off the water, remove the leaking handle and stem, then replace the worn rubber seat washer with an exact match. A leak around the handle usually points to the packing washer or O-ring instead. Cartridge, ball, and ceramic-disc faucets use different replacement parts, so identify the faucet type before buying anything.
Safety before you start
Close the hot and cold shutoff valves before disassembly, open the faucet to release pressure, and plug the drain so small screws cannot disappear. If a shutoff valve is frozen, corroded, or begins leaking, stop and use the home’s main water shutoff only if you know where it is and how it works.
What you need
- Flat-head and Phillips screwdrivers
- Adjustable wrench
- Masking or painter’s tape to protect chrome
- Replacement washer, O-ring, or cartridge that exactly matches the old part
- Plumber’s grease approved for faucet seals
- Towel and drain stopper
Step-by-step
Find out whether hot or cold is dripping
With a two-handle faucet, close one under-sink supply valve at a time. If the drip stops, you found the side that needs attention. Single-handle faucets usually have one cartridge or mixing assembly.
Shut off and drain the faucet
Close both supply valves beneath the sink. Open both faucet handles until water stops flowing. Cover the drain and take a quick photo before removing parts so reassembly is easier.
Remove the handle without forcing it
Lift off the decorative cap, remove the handle screw, and wiggle the handle upward. Mineral buildup can make it stick. Avoid striking it, which can damage the valve body inside the sink.
Remove the stem or cartridge
Protect shiny surfaces with tape, then loosen the retaining or packing nut. Pull the stem or cartridge straight out and keep every clip, washer, and screw in order.
Match and replace the worn seal
On a compression stem, replace the rubber washer at the bottom. For a leak around the handle, replace the packing washer or O-ring. If the faucet uses a cartridge, take the old cartridge to the store and match its brand and orientation exactly.
Lubricate and reassemble
Apply a thin film of faucet-safe plumber’s grease to new O-rings and stem threads. Reinstall the parts in reverse order. Tighten until secure, but do not overtighten a packing nut or crush a rubber washer.
Restore water slowly and test
Leave the faucet open slightly while you reopen the supply valves. This lets trapped air escape. Close the faucet, dry the area, and watch the spout, handle, and under-sink connections for several minutes.
Identify the faucet before buying a part
A steady drip means the valve is no longer sealing completely, but the failed part depends on the faucet design. Two-handle faucets that tighten down as you turn them are often compression faucets with rubber seat washers. Single-handle models commonly use a cartridge, ball, or ceramic-disc assembly.
Brand markings, the handle shape, and a photo of the removed part can help a hardware-store associate identify the correct replacement. Small differences matter: a washer that is close in size can still leak, and a cartridge installed backward can reverse hot and cold or prevent the handle from moving correctly.
- Drip from the spout: suspect a seat washer, valve seat, cartridge, ball, or ceramic seals.
- Water around the handle while running: suspect a packing washer or O-ring.
- Water beneath the sink: inspect supply-line and faucet-mount connections before opening the faucet body.
- Leak at the spout base: inspect the spout O-rings on faucets with a rotating spout.
What if the faucet still drips?
First confirm the replacement part is the exact size, is sitting flat, and was installed in the same orientation as the original. Recheck that retaining nuts are snug rather than aggressively tightened.
A compression faucet may also have a pitted valve seat—the metal surface the washer presses against. A rough seat can quickly damage a new washer. Cartridge faucets may keep dripping if mineral debris remains in the valve body or if the wrong cartridge was installed. Those problems can require a seat tool, a manufacturer-specific part, or professional service.
Common mistakes to avoid
- Skipping the water shutoff or assuming a valve is fully closed without testing it.
- Using bare wrench jaws on chrome and leaving permanent scratches.
- Mixing up hot- and cold-side stems or cartridge orientation.
- Using petroleum products on seals when the faucet maker calls for silicone plumber’s grease.
- Overtightening nuts, which can crack parts or make the handle difficult to turn.
- Replacing both sides automatically when a simple hot-versus-cold test can isolate the leak.
When to call a plumber
Bring in a licensed plumber if the shutoff valves do not work, the faucet body is heavily corroded, the valve seat is damaged, a pipe or supply line is leaking, or the faucet still drips after the correct part is installed. Shut off the water and get help promptly if water is escaping into the cabinet, wall, or floor.
Common questions
Why does my faucet drip after I replaced the washer?
The washer may be the wrong size, installed unevenly, or pressing against a worn valve seat. On a cartridge-style faucet, the cartridge or its internal seals—not a traditional washer—may be the actual problem.
Can I fix only the hot or cold side?
Yes. Close one supply valve at a time to identify which side feeds the drip. If the drip stops when one side is closed, you can usually service only that handle assembly.
How tight should the packing nut be?
Tighten it only enough to stop seepage while allowing the handle to turn normally. Overtightening can damage the packing or make the faucet hard to operate.
Prefer to hire a professional?
Find a local plumbing company
Browse business profiles with published services, coverage, and direct contact information in the FixMate directory.
Sources and further reading
This article is original FixMate editorial content informed by the references below. Always follow manufacturer instructions and local code.