Quick answer
Heavy white frost usually means moist room air is entering or airflow inside the freezer is restricted. Keep the door closed while you protect temperature-sensitive food, then check for packages or baskets blocking closure, debris on the gasket, easy-to-pull areas in a paper seal test, and food covering the model's air vents. Use an appliance thermometer; FDA guidance is to keep a freezer at 0°F. Defrost only when and how the exact owner’s manual directs. Never chip ice, use a hair dryer or heat gun, pour hot water into the cabinet, or remove an interior panel. Arrange appliance service if the gasket is torn, the door is misaligned, frost returns quickly, the freezer cannot hold temperature, or ice hides wiring or a fan area.
Safety before you start
Unplug the freezer only from a dry, safely reachable outlet and only when the owner’s manual calls for it. Keep water away from the plug, controls, fan openings, and wiring. Do not use knives, screwdrivers, picks, steamers, hair dryers, space heaters, or other heat sources to remove ice; they can puncture a refrigerant line, damage the liner, or create shock and fire hazards. Move food to a working freezer or ice-filled cooler before a manual defrost. Stop if the appliance must be pulled out, a panel must be removed, the door hardware is loose, or the electrical area is wet.
What you need
- Freezer owner’s manual and model number
- Freezer-safe appliance thermometer
- Flashlight
- Plain strip of paper for a gentle seal test
- Soft cloth with mild soapy water if the manual permits gasket cleaning
- Towels and a shallow container for model-approved defrost drainage
- Working freezer or cooler with ice for food protection
Step-by-step
Protect the food and verify temperature
Keep the door closed while you prepare. Read an appliance thermometer rather than judging by how the food feels; FDA guidance sets the freezer target at 0°F. If food is softening or the temperature is rising, move it promptly to a working freezer or cooler and follow FDA food-safety guidance rather than tasting food to judge it.
Map where the frost starts
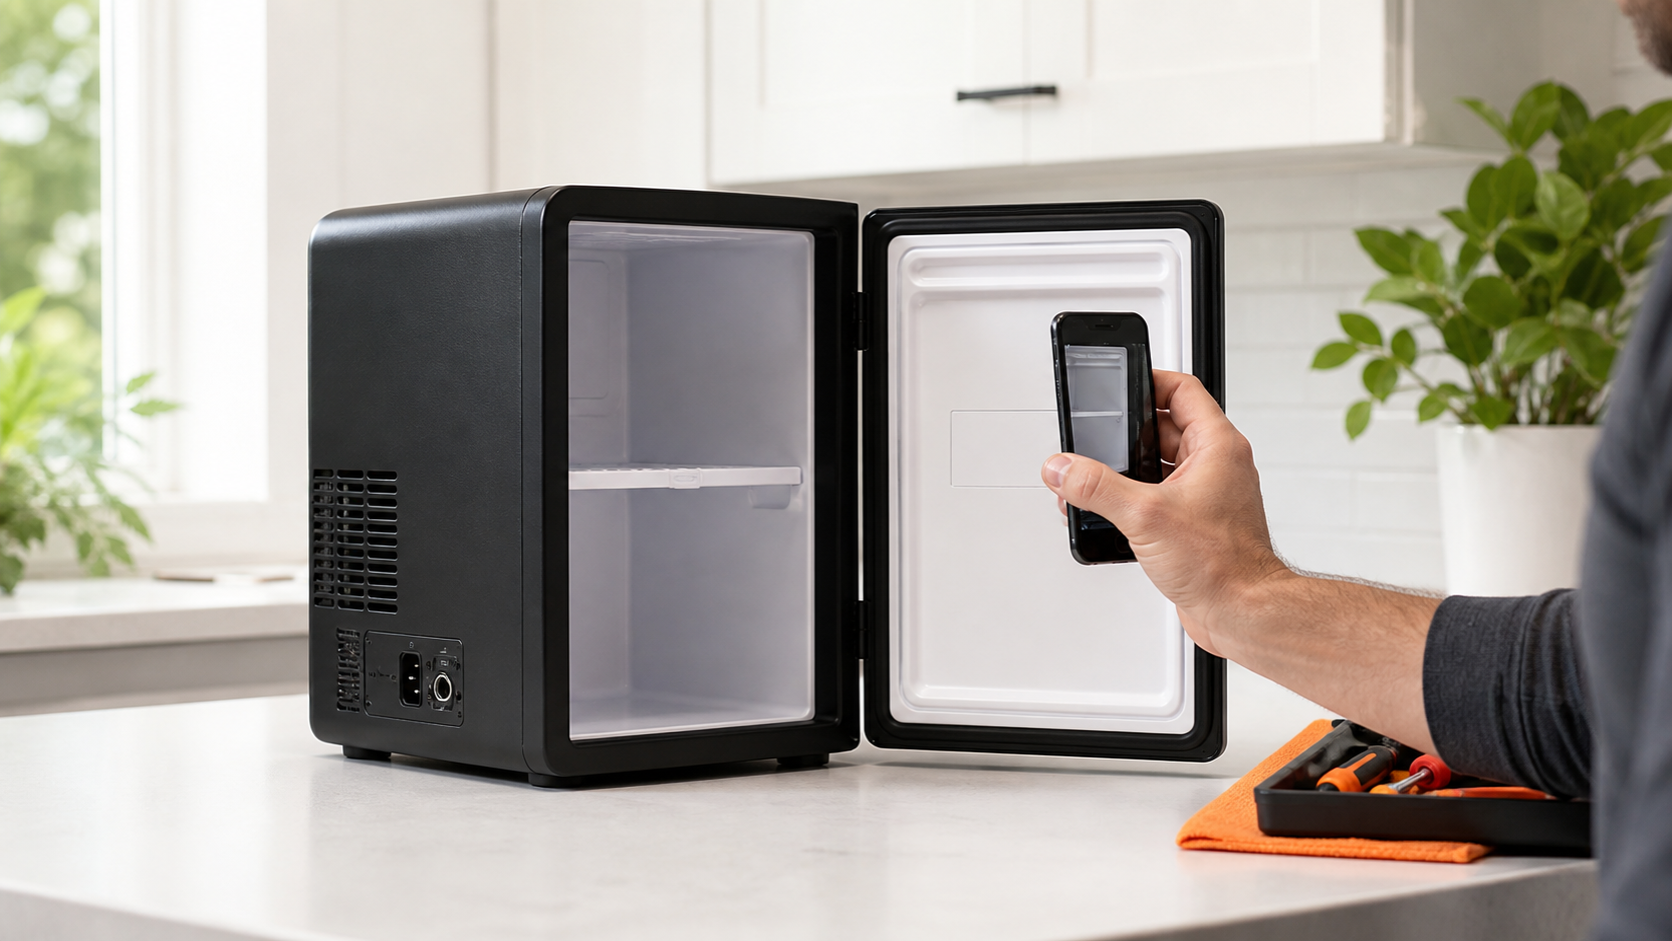
With the door open briefly, photograph whether frost is concentrated around one gasket edge, behind a package, at an air vent, or evenly across a manual-defrost cabinet. A ridge at the opening points more strongly to air entry; a hidden internal sheet of ice or recurring fan noise needs model-specific service diagnosis.
Clear anything blocking the door
Reposition packages, baskets, shelves, or shipping material that keeps the door or lid from closing. Leave the vent locations shown in the manual uncovered. Do not overpack the cabinet or force a door against a container.
Clean the gasket gently
If the manual allows it, wipe crumbs and sticky residue from the gasket and its mating surface with a soft cloth and mild soapy water, then dry both. Do not stretch the gasket, use abrasive pads, apply petroleum products, or try to reshape it with heat.
Use a paper test around the seal
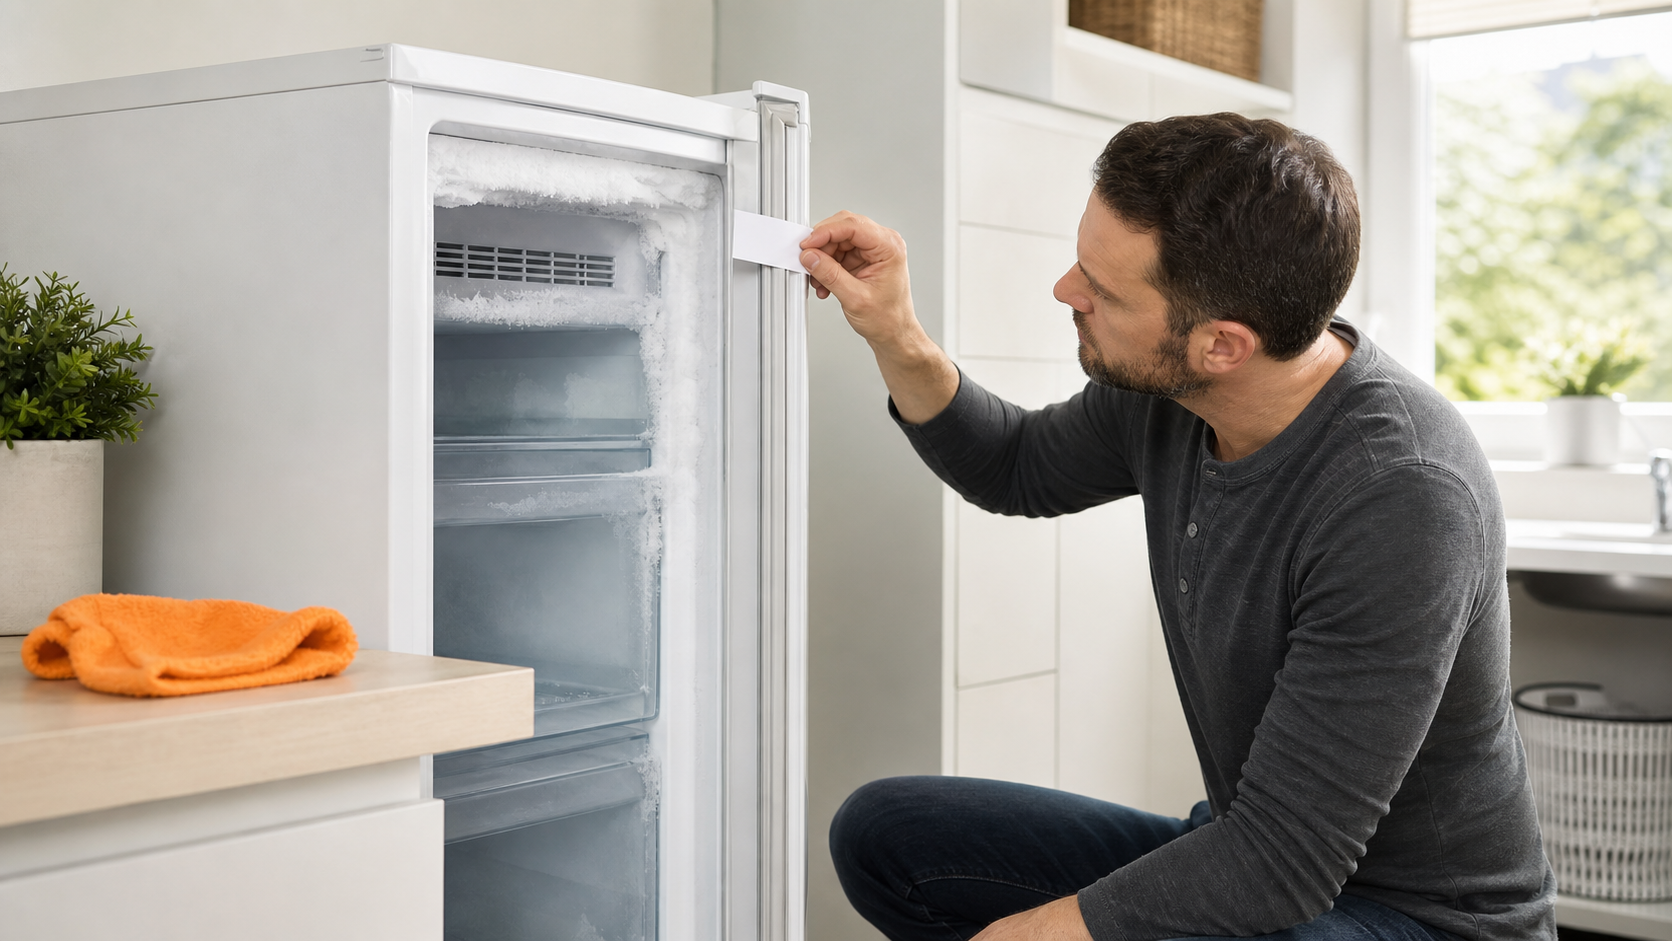
Close the door on a plain strip of paper and pull gently, repeating around the perimeter. Whirlpool says a sound seal should provide tension. One section that releases with little resistance is a useful service clue, not proof that a specific replacement gasket will fit.
Restore airflow and shorten door openings
Organize food so cold air can circulate and needed items are easy to find. During humid weather, frequent or prolonged openings admit more moisture, so group trips and close the door promptly. Do not block vents or pack food against a fan cover.
Defrost only by the model procedure
First determine from the manual whether the freezer is manual-defrost or frost-free. If manual defrost is owner-approved, relocate food, switch off and unplug as directed, manage meltwater with towels or the specified drain, and let ice melt naturally. A frost-free model with heavy recurring ice generally needs diagnosis rather than a generic defrost hack.
Monitor one full cooling cycle
After the door closes normally and any approved defrost is complete, restore power and confirm the temperature returns to the manual’s range. Note where new frost first appears. Fast recurrence, warming food, fan contact, unusual noise, or a damaged gasket or hinge warrants appliance service.
Why frost often gets worse in humid weather
Every door opening exchanges cold dry air for warmer room air. Water vapor condenses and freezes on cold surfaces, so a long opening or small seal gap can create a visible frost line faster in summer. Whirlpool’s support guidance specifically notes frequent opening, high humidity, poor gasket sealing, and blocked vents as common contributors.
Location matters more than frost volume alone. Frost tracing one edge of the door supports an air-leak check, while frost behind food suggests obstructed airflow. A solid internal ice sheet, repeated frost after the door checks, or a cabinet that cannot stay cold can involve a defrost, fan, sensor, or sealing problem that is not safely diagnosed from outside.
Manual-defrost and frost-free freezers are different
Whirlpool recommends consulting the owner’s manual before defrosting and notes that manual-defrost freezers may need cleaning once frost reaches about 1/4 inch. That guidance does not convert every frost-free refrigerator freezer into an owner-defrost project.
Use the model number to find the correct instructions. Do not copy a drain location, gasket part, timer sequence, or disassembly step from a similar-looking appliance; designs vary, and compatibility cannot be confirmed from cabinet shape alone.
Stop-and-call-a-professional thresholds
- The freezer will not maintain 0°F, food is thawing, or the temperature trend is unknown.
- The gasket is torn, hardened, deformed, or loose, or the door, hinge, or cabinet is misaligned.
- Frost returns quickly after obstructions, gasket cleanliness, and vent clearance are corrected.
- Ice reaches a fan opening, wire, light, control, drain hidden behind a panel, or refrigerant tubing.
- Meltwater reaches an outlet or electrical part, or the appliance must be moved to access the problem.
Common questions
Why is my freezer frosting up more in summer?
Warm, humid air carries more moisture into the cabinet when the door opens or a gasket leaks. That moisture freezes on cold surfaces. Check closure, gasket cleanliness, and vent clearance before assuming an internal failure.
Can I use a hair dryer to defrost a freezer?
No. Heat around water, plastic liners, wiring, and refrigerant components can cause shock, fire, or appliance damage. Follow the exact model’s natural-defrost procedure only.
Does an easy paper test mean I need a new gasket?
It identifies a weak-sealing area, but debris, a blocked door, hinge alignment, or cabinet level can also affect contact. Have the model and seal diagnosed before ordering a part.
Prefer to hire a professional?
Find a local appliance repair company
Browse business profiles with published services, coverage, and direct contact information in the FixMate directory.
Sources and further reading
This article is original FixMate editorial content informed by the references below. Always follow manufacturer instructions and local code.