Quick answer
Remove the battery or disconnect the spark-plug lead exactly as the trimmer manual directs, then identify the trimmer model and head type before opening anything. Remove grass and dirt from the exterior vents and head, inspect the spool for crossed, melted, depleted, or overfilled line, and reload only the diameter, length, winding direction, and method specified for that exact head. Quick-load, bump-feed, automatic-feed, and prewound-spool designs are not interchangeable. Replace a cracked or distorted head with a confirmed-compatible part. Never substitute wire, rope, cable, a blade, or a generic head that is not approved for the model.
Safety before you start
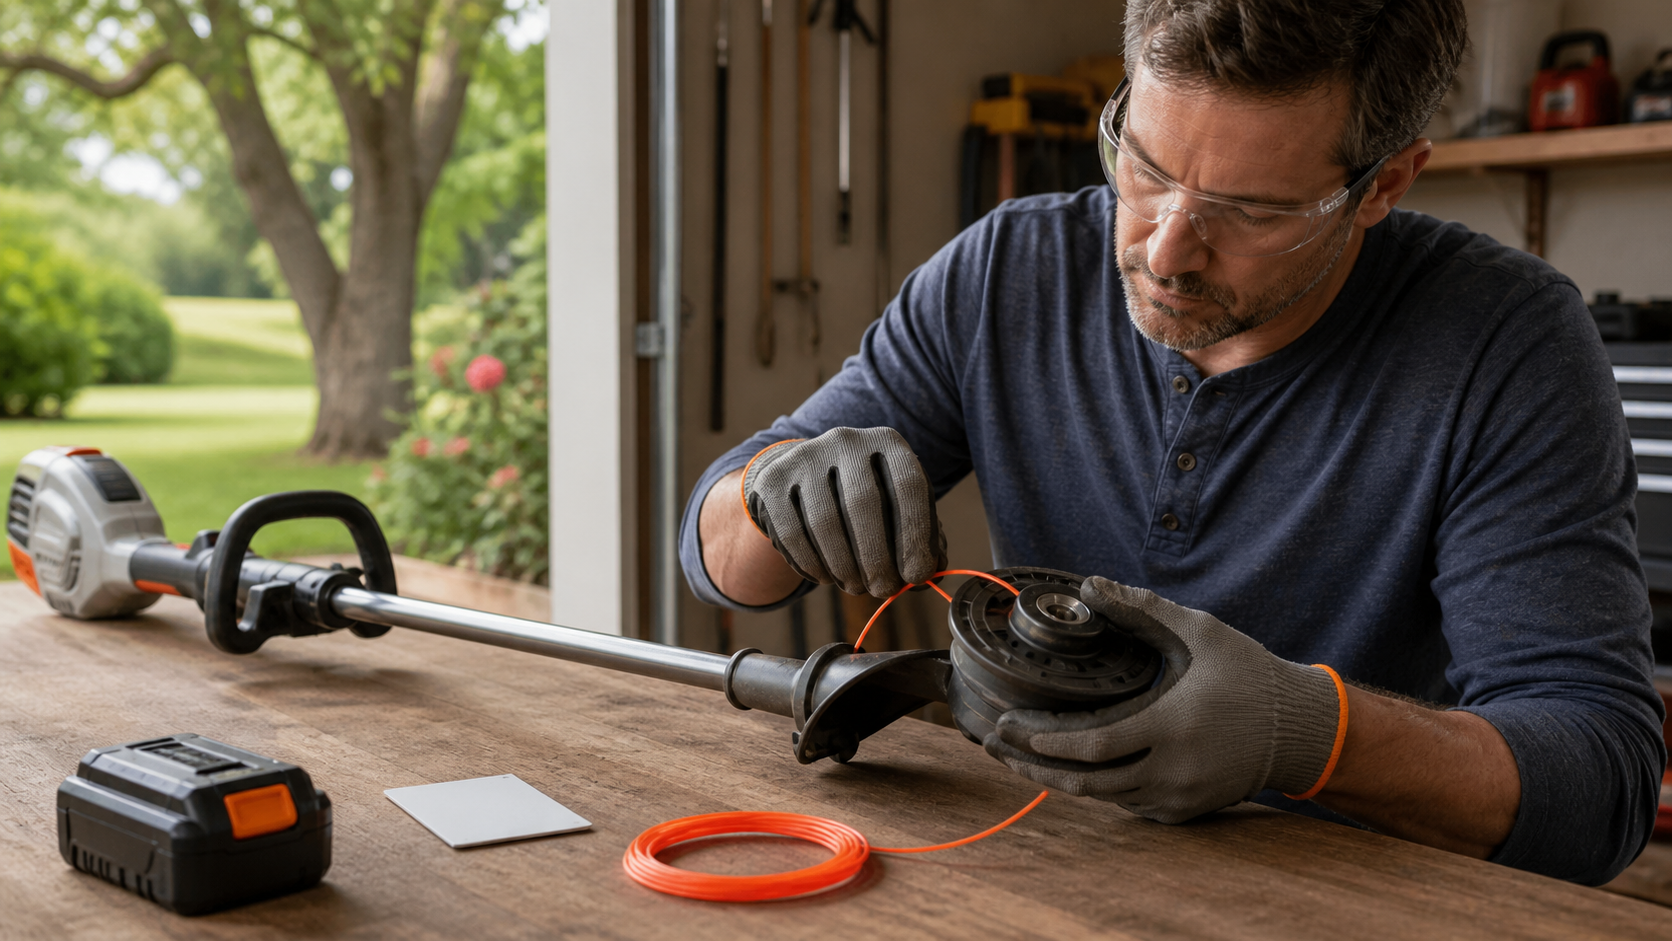
The cutting head can start unexpectedly if energy remains connected. Remove the battery from cordless models; on gasoline models, shut the engine off, let it cool, and follow the manual for disconnecting the spark-plug lead. Wear eye protection and gloves, keep clear of the line-cutoff blade on the guard, and work on a stable bench. Never service a running trimmer, hold the trigger while inspecting, defeat a guard, install metal wire or rope, or fit a blade or conversion kit unless the exact manufacturer manual expressly approves it.
What you need
- Exact trimmer and head manuals
- Safety glasses and work gloves
- Soft brush or dry cloth
- Manual-specified nylon trimmer line or confirmed prewound spool
- Tape measure and approved line cutter
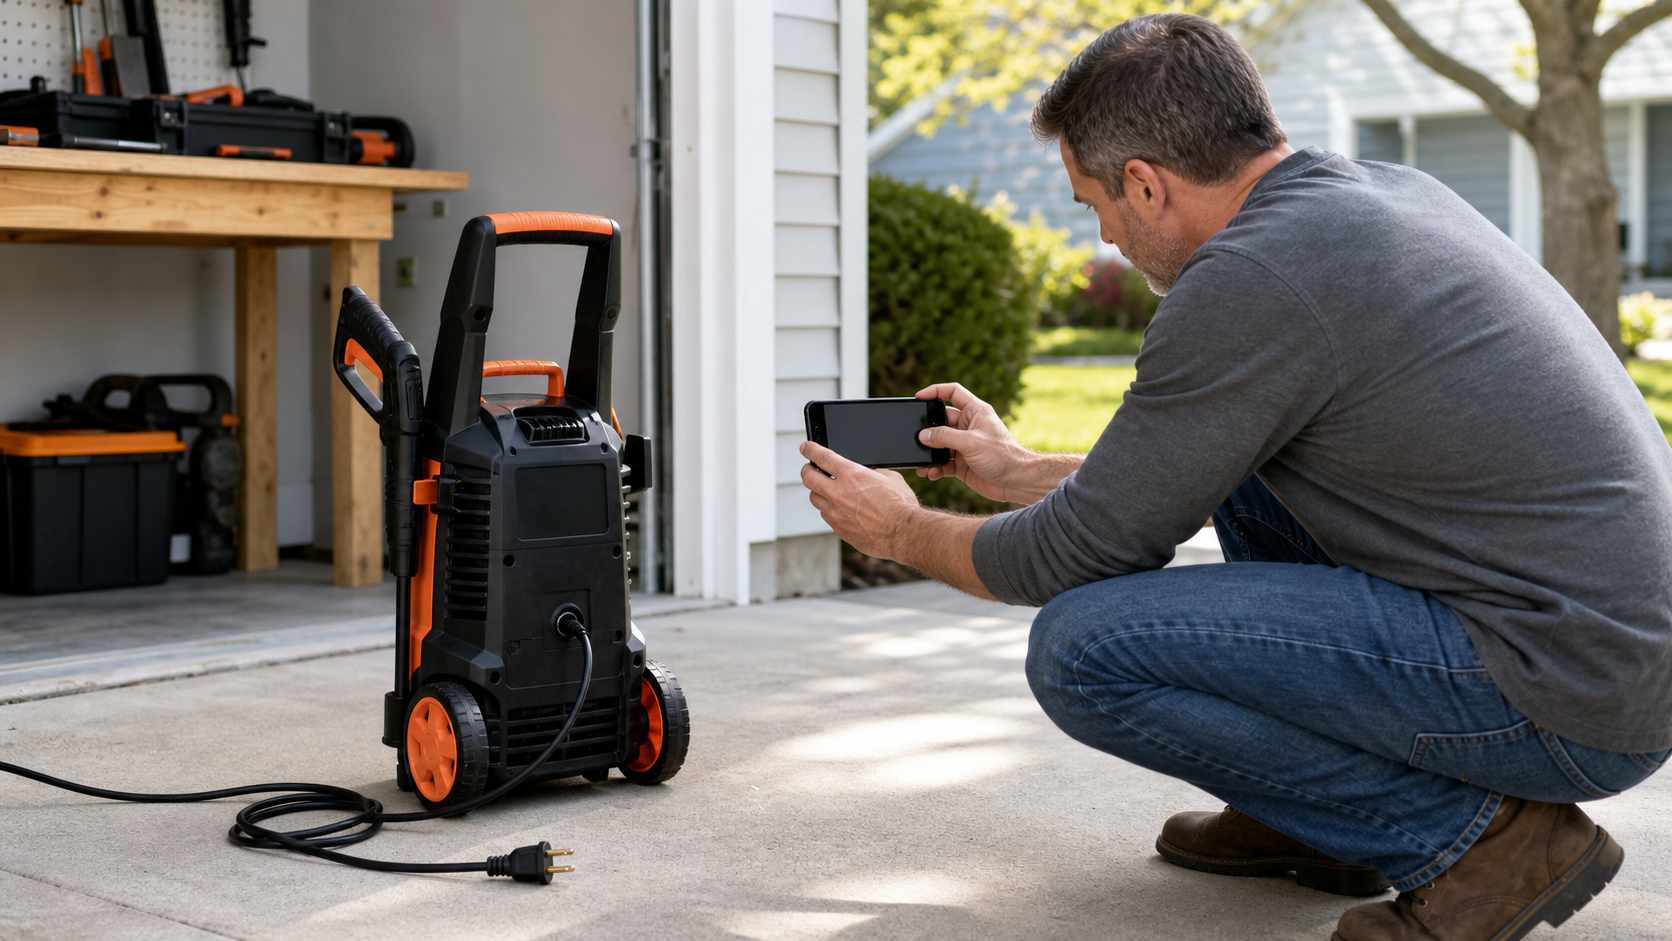
- Phone camera for the model and head labels
Step-by-step
Disconnect every energy source
Release the trigger and wait for the head to stop. Remove the battery from a cordless trimmer. For a gasoline trimmer, switch it off, let it cool outdoors, and follow its manual for spark-plug disconnection. Do not rely on a trigger lock alone.
Record the trimmer and head identity
Photograph the model label and any number molded into the spool or head. Look up the official manual and parts list. A head that looks similar can use a different line diameter, winding path, cap, or attachment method.
Clean the outside before opening
Brush away dry grass and debris from the head, air openings, and cap. Keep fingers away from the guard’s cutoff blade. Do not wash an electric tool, blow debris toward your face, or push objects into vents.
Open the head exactly as the manual shows
Release tabs, turn a cap, or align marks only in the documented sequence for that head. Control any spring-loaded spool as it opens. Stop if the cap is cracked, seized, or requires improvised leverage.
Inspect the line and spool
Look for crossed wraps, loops beneath other wraps, line fused by heat, pieces trapped at the eyelets, an empty spool, or too much line packed into the housing. Also check for cracks, worn tabs, a bent spool, or a damaged spring. Replace damaged parts with confirmed-compatible components rather than reshaping them.
Measure the manual-specified line
Use the exact nylon line diameter and maximum length in the manual. Do not assume a thicker line is an upgrade: it can bind, overload the feed system, or exceed the tool’s design. Cut cleanly with an approved line cutter.
Reload for the actual head design
For a traditional spool, anchor and wind the line in the marked direction with neat, even rows. For a through-feed or quick-load head, align the loading holes, pass the specified line evenly through the head, and turn the winding control as directed. Leave only the tail length the manual specifies and route both ends through their proper eyelets.
Reassemble, hand-turn, and test safely
Seat the spool, spring, and cap until the manual’s retaining points are fully engaged. With energy still disconnected, rotate the head by hand only if the manual allows and confirm it does not bind. Reinstall the battery or spark-plug lead outdoors, clear the area, wear eye protection, and perform a brief manual-approved test. Stop for abnormal vibration, a loose cap, or line that still will not feed.
Why the head type changes the repair
A bump-feed head advances line after a controlled tap at operating speed; an automatic-feed design advances it differently; a traditional spool is opened and wound; and a quick-load head may accept straight line through aligned eyelets before winding. Mixing those procedures can jam the spool or release the cap.
DEWALT’s QuickLoad support article specifically covers DCST920, DCST970, and DCST991. The separate DCST922 manual gives that model its own loading limit and line specification. Those are useful examples of why a procedure or line length from one model must not be generalized to another.
Line diameter and compatibility are safety specifications
Use only the line type and diameter listed in the exact manual. A larger diameter can fit through an eyelet yet still be wrong for the motor, clutch, spool capacity, or feed mechanism. Prewound spools and replacement heads also need a documented model match.
DEWALT publishes a separate compatibility notice for its DWO1DT995 replacement head and separately warns against using blades on its string trimmers. Never treat a universal-fit claim, online photo, or anecdotal success as manufacturer approval.
When a new spool is not enough
- The head, cap, tabs, spring, eyelets, guard, shaft, or attachment threads are cracked or distorted.
- The head vibrates, loosens, binds, or makes grinding sounds after correct reassembly.
- The tool starts unexpectedly, the trigger does not release normally, or the battery or engine area becomes unusually hot.
- The installed head cannot be confirmed as compatible with the trimmer model.
- The line still fails to advance after a manual-correct reload and clean reassembly.
Common questions
Why does my trimmer line keep getting stuck inside the spool?
Common causes include crossed winding, too much line, the wrong diameter, heat-fused line, debris, or a damaged spool. Disconnect power and compare the winding direction, amount, and line specification with the exact head manual.
Can I use thicker line so it lasts longer?
Not unless the manufacturer lists that diameter for your model and head. Thicker line can bind the feed system and place more load on the tool.
Can I replace trimmer line with wire or a blade?
No. Never use wire, cable, rope, or an unapproved blade conversion. They can break or throw dangerous debris, and a blade changes the tool’s operating forces. Use only manufacturer-approved cutting attachments for the exact model.
Sources and further reading
This article is original FixMate editorial content informed by the references below. Always follow manufacturer instructions and local code.